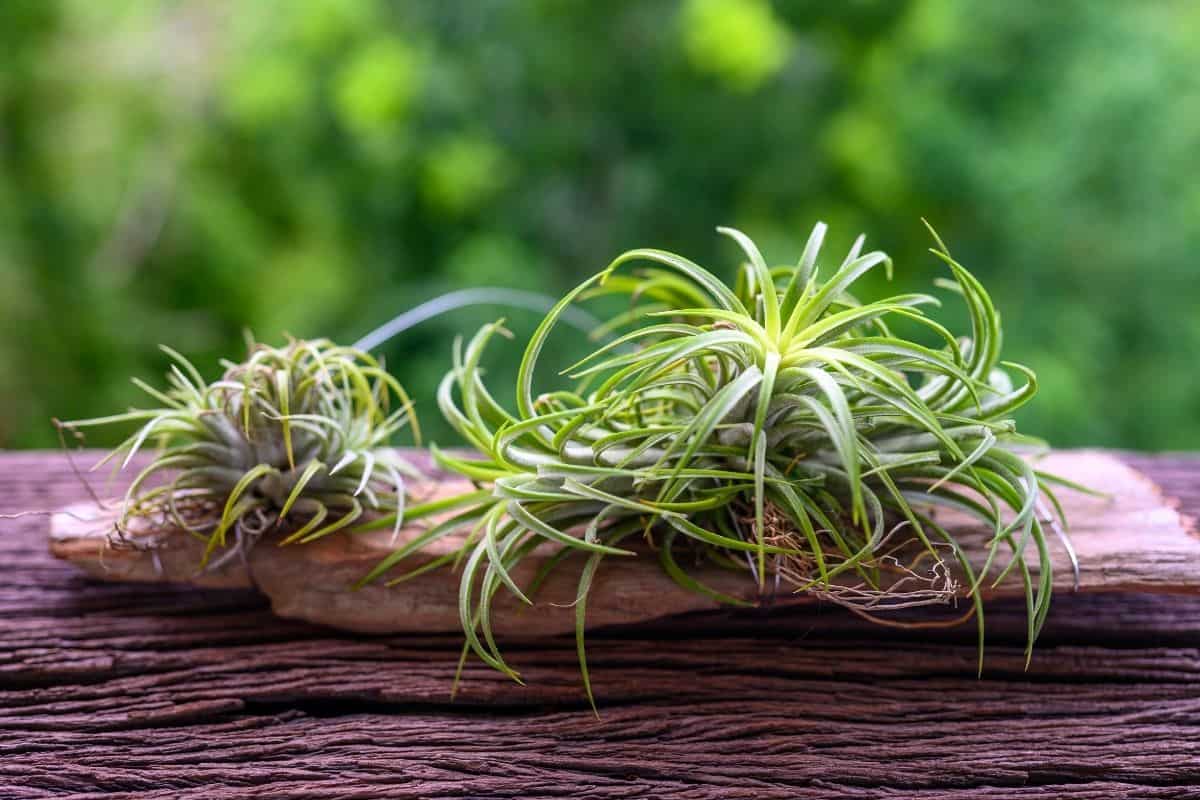
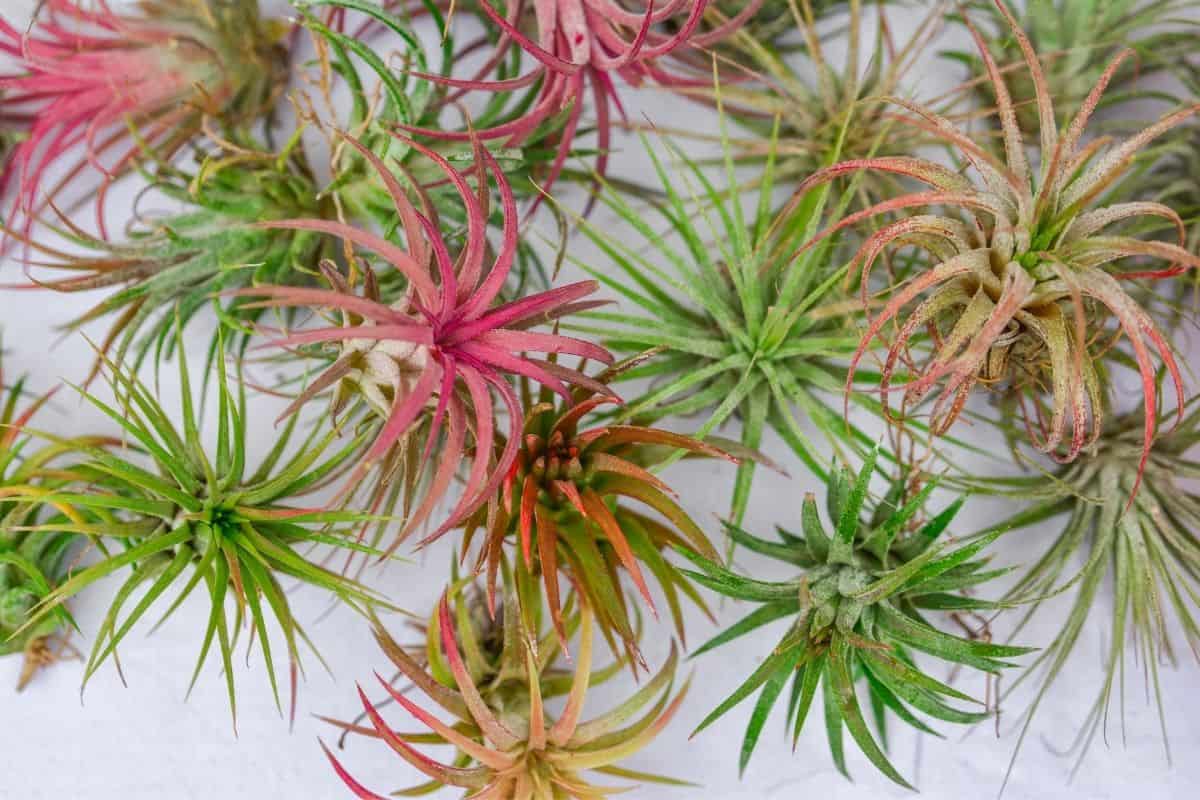
If there is one type of plant that we love as much as succulents, that would be air plants. There is just no denying their beauty, elegance, and simplicity. You can put them in a hanging glass container, and they will look like a living gem.

As with other plants, air plants need a lot of care as well. Neglect can lead to a dehydrated air plant, or worse, a dead one. Fortunately, there are ways to remedy the problem. In this article, we will talk about the causes of air plant dehydration, the steps you can take to remedy the issue, and more.
Jump to:
- What Is an Air Plant (Tillandsia)?
- Dehydrated Air Plant or Overwatered?
- How To Save a Dehydrated Air Plant
- Step 1: Remove the dead and dried-out parts.
- Step 2: Give it a good soak.
- Step 3: Adjust your watering routine.
- How To Help an Overwatered Air Plant
- Step 1: Remove air plant rot.
- Step 2: Dry your air plant.
- Step 3: Transfer it.
- Step 4: Refine your watering methods.
- How Often Do You Need To Water Air Plants?
- The Type of Air Plant
- Lighting
- Environmental Humidity
- Air Circulation
- Caring for Your Tillandsia
What Is an Air Plant (Tillandsia)?
Tillandsia plants are a genus of plants that belong to the Bromeliad family. They are epiphytes, which means they live on other natural surfaces instead of growing in soil. This also means that they don’t have roots like other plants.
Instead of using them to absorb nutrients, air plant roots are only there to be used for stability and attachment. They are not parasites, though. Their supporting plant can live healthy lives even as the attached air plants mature.
The challenge now is how to recreate their environment at home so that you can have a happy, healthy air plant. We recommend researching air plant care tips for more information. In the meantime, let’s deal with our main issue first.
Dehydrated Air Plant or Overwatered?
One of the main reasons we don’t recommend air plants for beginners, aside from their unique growth habits, is that they require a different watering schedule and method. Air plants are quite drought-tolerant, and they have the ability to absorb the nutrients they need to survive through their leaves and from the air (hence the name).

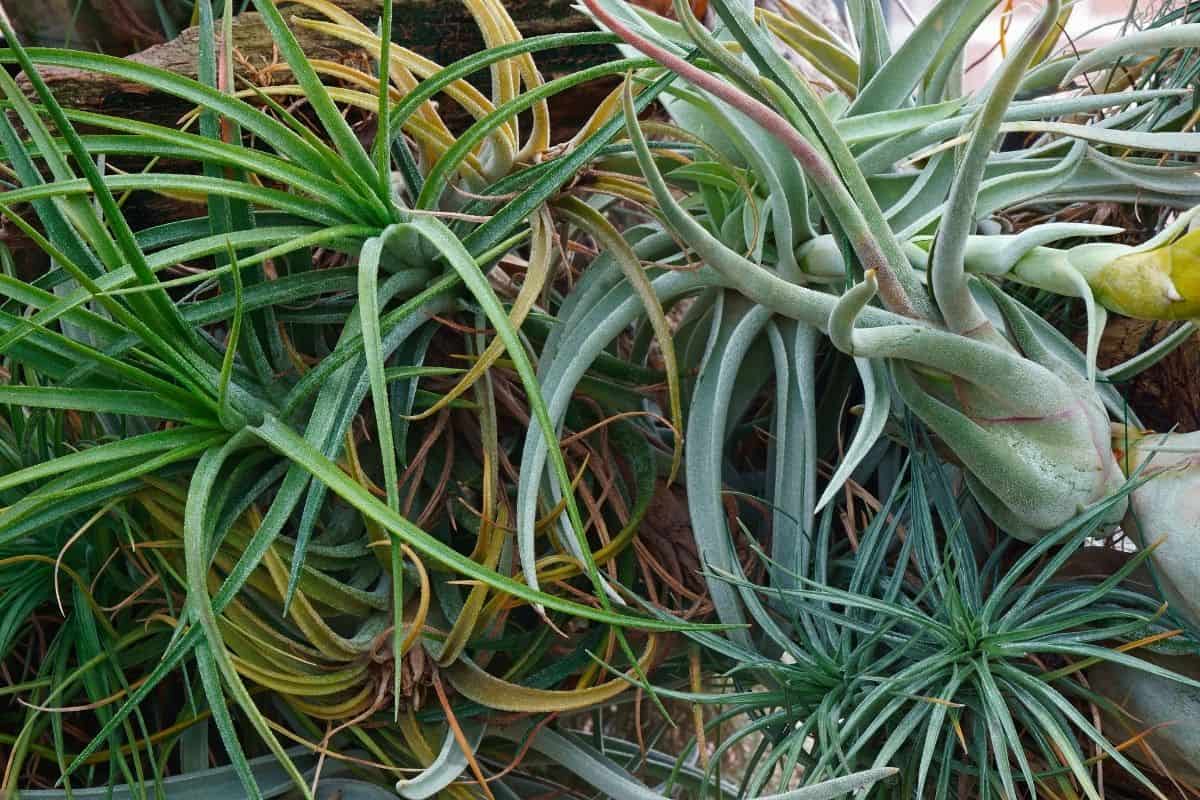
However, it doesn’t mean they won’t require attention and watering. Quick dunks in a bucket of water aren’t going to cut it, as doing so can result in an under-watered air plant. You will see the earliest signs of underwatering through its browning leaves. A sick air plant can also have crunchy, wispy leaves that can turn into dead leaves over time.
In addition, browning leaves could also be because you are using chlorinated water for your hydrating sessions. We recommend using rainwater or unchlorinated water instead to retain your plant’s luscious green leaves.
On the other hand, it is also possible to overwater your air plant, causing it to die. The first sign to watch out for is when your Tillandsias turn into soggy plants. Your air plant is most probably constantly subjected to excess water that it’s already leading to root rot and mold growth.
How To Save a Dehydrated Air Plant
No products found.
Here’s how to save a dehydrated Tillandsia and ensure better air plant health:
Step 1: Remove the dead and dried-out parts.
The first step is to rid your plant of its dead parts, allowing it to focus its energy more on growing new leaves instead of repairing damaged ones.
Step 2: Give it a good soak.
Next, put your dry plant in water for at least five to eight hours. If you’re observant enough, you will probably start to see some changes immediately after just a single soak, albeit very minimal.
Step 3: Adjust your watering routine.
From then on, make sure your plant gets a good 20-minute soak every week or every 10 days, depending on its immediate environment.

How To Help an Overwatered Air Plant
On the other hand, if you have a sick air plant due to being overwatered, here’s what you should do to save it:
Step 1: Remove air plant rot.
Overwatering is the leading cause of succulent plant death, and it could lead to a dead air plant as well. Root rot is not only brought about by natural decomposition; it is a disease that can also be caused by fungal growth.
The first step to remedy this issue is to remove any infected part. Doing so will hopefully stop the disease from spreading.
Step 2: Dry your air plant.
After removing the infected parts, let your air plant dry completely. We recommend placing it atop a paper towel and in front of a fan to hasten the process.
Step 3: Transfer it.
Make sure your plant doesn’t get root rot again by transferring it to a better-ventilated container.
Step 4: Refine your watering methods.
To ensure it doesn’t happen again, you would want to start practicing a better and more effective watering routine. Here are tips to keep in mind when it comes to watering air plants:
- Never forget a soaking air plant. Set an alarm or a notification on your phone so that you won’t leave it soaking for a prolonged period.
- Hang your air plant upside down after watering. Doing this will allow excess water to drip down on its own.
- Allow your air plant to dry completely before returning it to its display container. This way, it wouldn’t have to sit on a puddle for several hours. To make matters worse, display containers that have poor ventilation don’t allow the plant to dry at times, especially if it’s in a particularly humid location.

How Often Do You Need To Water Air Plants?
Honestly, this issue simply boils down to how you water your air plants. We water our air plants by giving them a good soak once every week. There are days when we do it for as short as 20 minutes every 10 days. During particularly hot summers, we let them soak for an hour every seven days.
If you are unsure how often you need to do it, here are different factors you should consider to determine when and how to water your air plants:
The Type of Air Plant
Not all air plant varieties need long soaks to hydrate. Take the time to learn about the particular variety you have to check how much water it needs.
Lighting
The next factor to consider is how much light and heat your air plant is exposed to daily. For instance, those exposed to direct sunlight will need more watering than those just chilling in the shade. That’s why we advise bright yet indirect light for air plants to prevent dehydration and sun damage.
Environmental Humidity
Air plants growing in areas known for their humidity will need fewer sessions than a regular watering routine. On the other hand, those who keep air plants in particularly dry areas will need to increase their watering frequency compared to the normal watering requirement.
Air Circulation
Finally, don’t forget to account for the air circulation your air plant is exposed to. Poor air circulation will allow moisture to sit on the plant and encourage mold development. Hence, you might want to adjust your watering accordingly.
Caring for Your Tillandsia
Caring for a Tillandsia might sound overwhelming in the beginning. If you’re new to this, you might be better off with air plant varieties that require low maintenance. Most of them won’t even have these types of issues as long as you put them in an ideal environment where they’ll be able to thrive and survive.
By keeping in mind the tips we shared, we hope we can help you enjoy your plant journey and maybe gain the confidence to grow other types of plants in the future. That said, please feel free to explore our other care guides as well. Happy gardening!

