Unfortunately, due to the abundance of adorable potential planters, it's not always possible to plant succulents in a proper container. If you must plant in a container without a drainage hole (or don't want to make a drainage hole), there are some important things to keep in mind.
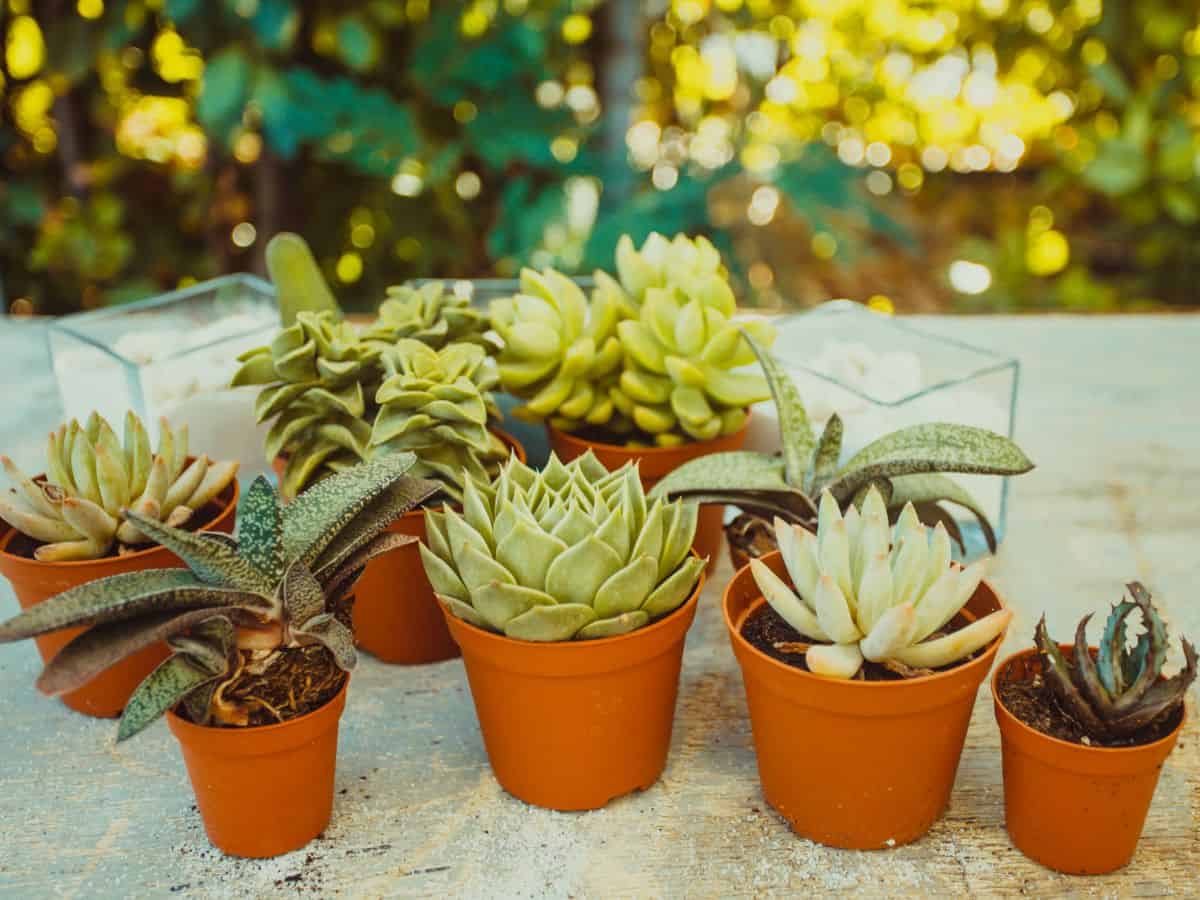
Disclaimer: Sublime Succulents does NOT recommend you grow a succulent in a container without drainage holes. This guide is simply for those who like to live dangerously, or don't value the lives of their green friends (you monster).
Jump to:
- How to Prepare a Container without Drainage Holes
- Cachepot
- Size your Container Correctly
- How to Water Succulents in a Container without Drainage Holes
- Use Less Water
- Apply Water Directly
- Dump Excess Water
- Repot Yearly
- How Often to Water a Succulent in a Container without Drainage
- How to Identify and Treat Rot from Over-Watering Succulents and Cacti
- Bonus Tips:
How to Prepare a Container without Drainage Holes
This might shock you, but the first thing I want you to do is put away that gravel. That's right - no gravel in the bottom of your pot. I know it is very counter-intuitive, but gravel doesn't promote drainage. In fact, it does the opposite. It effectively reduces the depth of your pot because water is reluctant to leave soil and flow into the gravel. Don't believe me? Read about the phenomenon: perched water tables.
Now that we've got that settled, go ahead and completely fill in your container with soil. As always, you want to choose a soil that has as little organic matter as possible (no hummus, peat, coir, etc). Bonsai Jack and Black Gold Succulent Mix are great commercial options. You can always make your own succulent soil mix though, read our article about succulent dirt for more info!
Cachepot
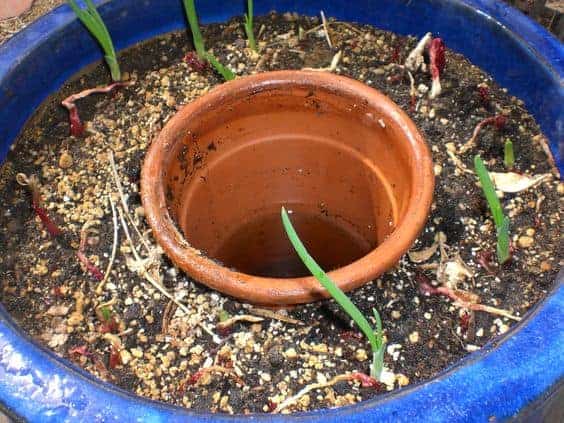
If you're feeling nervous about the whole "no drainage hole" thing, consider making a cachepot. A cachepot is when you place a small pot (with a drainage hole!) inside a larger container. You can fill up the large container with soil too, to the level of the rim of your mini pot. That way you have a drainage hole, but still maintain the appearance of the container.
Size your Container Correctly
Having the right-sized container can make all the difference.
If your pot is too big for your plant, the soil will dry much slower. Likewise, containers that are too small dry quickly. When upgrading to a new container, make sure you move up slowly. A plant that outgrows its pot should be moved into a new one with a diameter only a couple of inches larger.
How to Water Succulents in a Container without Drainage Holes
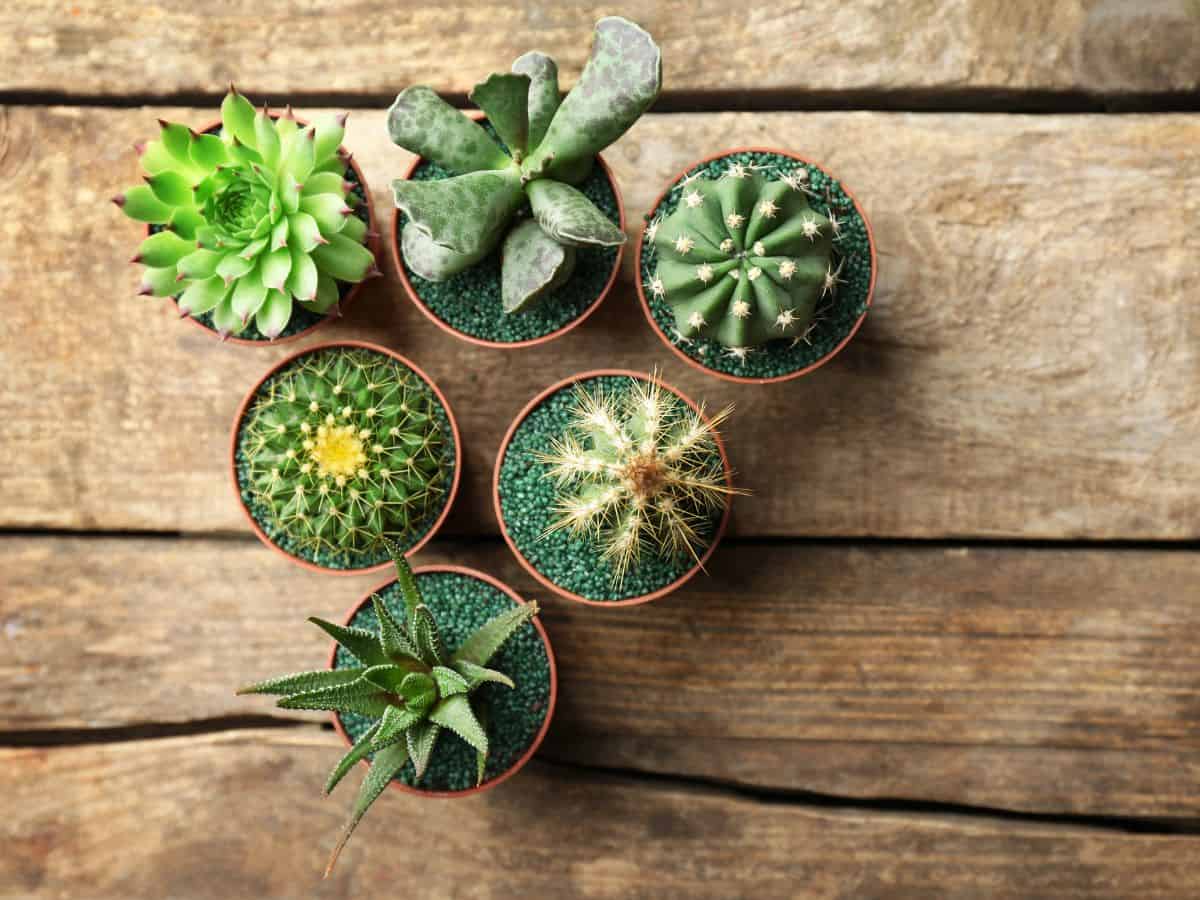
Proper watering is the key to making the hole-less containers work.
You see, the reason planting in a container without a drainage hole is such a big deal is because succulents drown quite easily. Plants take in most of their air (they need carbon dioxide AND oxygen) through their roots. But oxygen molecules move (literally) 10,000 times slower through water than they do through air. When soil is damp for too long, it prevents any air from getting to the roots.
No products found.
Since succulents and cacti are adapted to dry environments, they can't withstand those moist conditions for long. That's why we always emphasize fast-draining soil and proper drainage.
But since we're ignoring that good advice, this is what you have to do.
Use Less Water
Normally, our fat plants enjoy a good drenching. They like to be thoroughly soaked, albeit briefly. But we don't have that luxury because any excess water will take a long time to make it out of the pot.
Instead, use water by the table spoon. Cassidy Tuttle of Succulents and Sunshine recommends you use water equal to half the volume of the soil. Remember how much you used, and track your plant. See how it responds and find out how long it takes the soil to dry.
Apply Water Directly
It's a bad habit we all have - just pouring water over your plants. Few plants are able to actually intake water through their leaves or stem; most have to do it through their roots.
It is hard though, when your plants are thicc like ours, to avoid getting water on the leaves. A good tool to address this issue is a wash bottle.
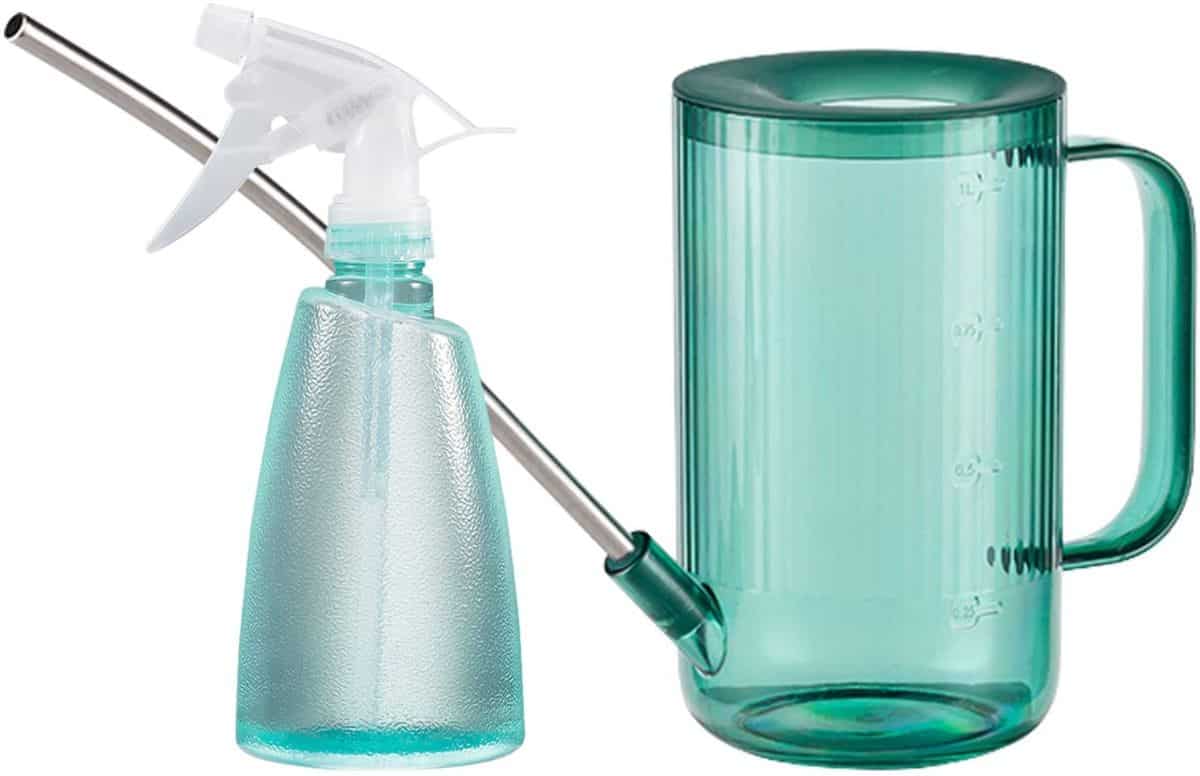
I used these in my botany laboratory for pure ethanol, but they're useful at your "home lab" too! Use the nozzle to squirt water on the soil surrounding the stem right at the base of the plant. This is the most efficient way to get water directly to the roots.
Dump Excess Water
This might seem obvious, but it's good to have reminders. After you water, wait a minute, then upend your plant to try to get that excess water out. Once you've waited a bit, the soil will absorb all the water it's going to hold, and the stuff that pours out was going to waste anyway.
Hold your soil and the base of your succulent stem with one hand (if you can), to keep everything in while it's upside-down (or at least tip it). Of course, it would be silly to try this with a cactus or something similar, but we do what we can!
Repot Yearly
Salts and minerals from hard water or fertilizers will accumulate in the soil of a pot without drainage. This can raise your soil pH and affect the health of your plant. Normally water carries these things out, but since it can't, you'll have to adjust accordingly. Replace the soil (which will be compacted anyway) at least once a year to prevent the buildup of these toxins.
How Often to Water a Succulent in a Container without Drainage
The short version is this: whenever the soil is dry, wait a couple days, then water.
"But SubSuc," you say, "that's the same advice for watering even when there IS drainage!"
Yes, this is true. The same rules apply. However, you'll find that the soil takes far longer to dry in a container without drainage holes. It also depends on the depth of the soil, and how much surface area the container provides.
In order to check if your soil is dry, you have a few options. The easiest is to stick your finger in there, down at least two inches. It should be dry and the same temperature as the surface. If it's cooler down there, it might still be damp.
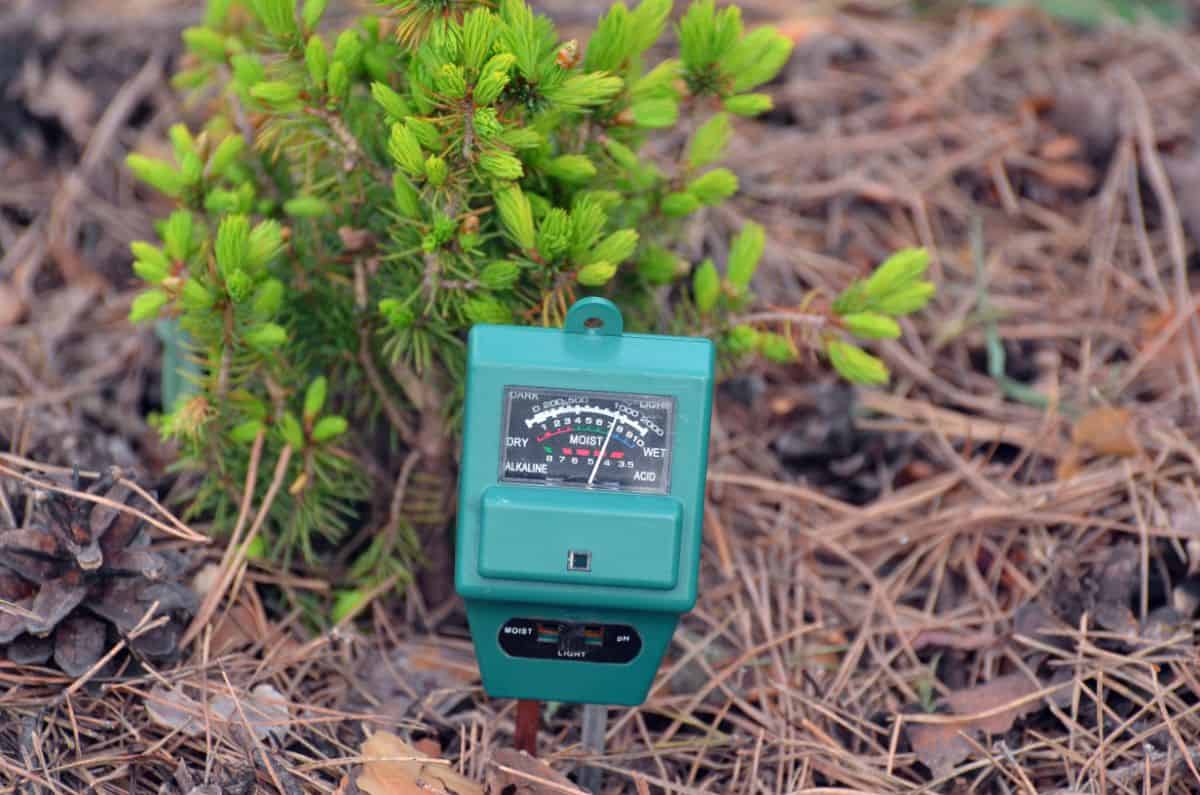
Or you can use a soil moisture meter. This is the most accurate method. Make sure the moisture at the surface and at the bottom are about the same - dry. Note that moisture meters are not very accurate if you have a gritty mix with little organic material.
Alternatively, stick a chopstick or a wooden skewer down there and leave it for a minute. If it comes up damp, or has too much soil sticking to it, it's still moist. Who knew dirt was so similar to cake?
Even when you're sure the soil is dry - wait a few days. The succulent won't mind, and it'll help keep you from over-watering.
How to Identify and Treat Rot from Over-Watering Succulents and Cacti
This is the ever-present threat you are dealing with if you choose to pot in a container without drainage holes. The good news is that, if you catch it early, it doesn't have to be fatal.
Here's how to spot rot: The base of the stem and/or the lower leaves start to turn yellow or mushy.
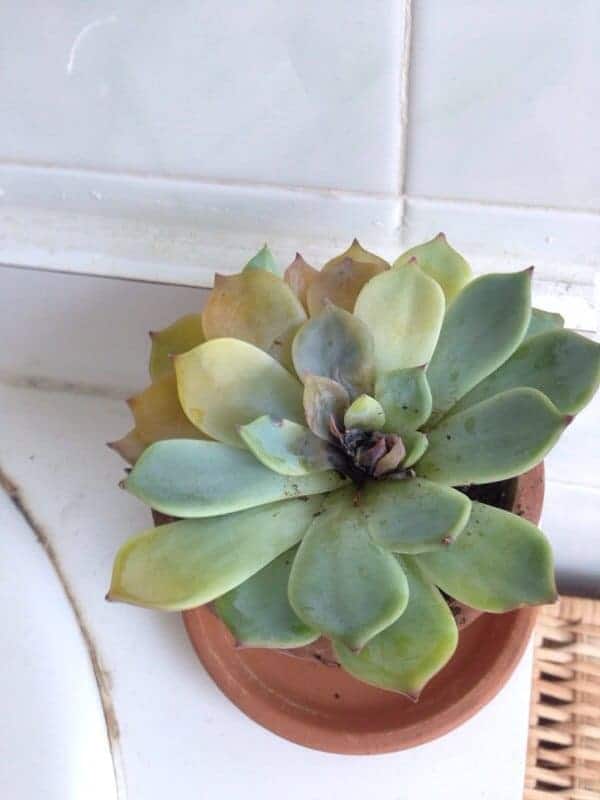
It's difficult to catch root rot early because roots are, y'know, underground. However, they do turn mushy and disintegrate when over-watered. If you see your stem starting to become flaccid or bendy, or you see that tinge of yellow creeping up, immediately unpot your succulent or cactus. Remove all the soil and identify how much of the root is affected. Cut the roots a few centimeters above the rotted part. Use a clean, sharp blade or some garden shears. A good cut makes healing easier.
You should unpot it if you even suspect root rot. Succulents don't mind some abuse, but they do mind drowning. Leave your plant out of the soil for a couple days so everything can dry out. Pot again in new, sterile, dry soil once you're sure it's out of the danger zone.
If the rot has progressed past the roots and onto the stem, the plant may still be salvageable. If it's a thick-bodied plant like a cactus, you might be able to just carve out the rot. Use that sharp knife and cut into the healthy tissue surrounding the rot and remove the chunk containing rot. You might have to get rid of the roots too. Lay it out to dry and callus. Cacti are amazingly resilient - it will probably just scab over and keep growing.
If your fat plant has got a thinner stem, you'll want to try beheading it. Cut an inch above the rotting stem. Leave the upper half out to dry. After a few days it should callus over, and you can plant it again. It'll take a while to start really growing, but with any luck you shouldn't lose the plant. (Does this method sound familiar? Yup, it's the same process for a beheading propagation - check out other way to propagate here.)
Bonus Tips:
- Humidity has a huge impact on how long it takes water to evaporate. Dry homes will need to water more often, more humid homes less often.
- If this plant will be outside, exposed to rain, it must have a drainage hole. Rain + no drainage is a recipe for disaster.
- Keeping your plant in a sunny window or under a grow light will dry out the soil faster.
Do you have any tips or questions about planting in containers without drainage? Let us know in the comments below!


carolM- nyc
I have an Aloe I bought in 1996 for $1 in a supermarket when my son was a baby, it has since spawned at least 50 aloes, and it probably has a 2 foot+ root,stolen(?) (trunk) which snakes from one end of 36" rectangular pot from where it is planted all the way to the other end of the pot where it flowers. I have not had to replant it for a while. I have always let the aloes get incredibly dry (as I live in an apt in NYC) and then I flood them and let the dry out begin again. Well during CoVid the smaller "babies" in the pot are now huge and mom is now really suffering so, I am going to attempt to remove many of the plants that have appeared in this pot with "mom". I just ordered a 40"x8x8 window box type slate container. I am pretty sure I have in the bottom of the one she has been in for years that were big broken clay pot chunks. As I alone in this process this time due to the distancing, I am reaching out to see if this is the correct type of thing to again put in the bottom (or larger chunck type rocks that will allow water to get away from her roots is my thought)? Not even sure if this is a working website, but I thought I would try? I would really appreciate any advice you may be able to give me. kind regards
Patrick Grubbs
Haha, this is indeed a working website and I can help with your question :). The answer is, no, you don't need to put any chunks of pot or rocks in the bottom of the new pot. Although it seems unintuitive, it's not really helping move water away from the roots. Your current care regimen is already perfect, so keep doing that. Thanks for the nice story!
carolM- nyc
thank you so much for your reply, much appreciated. Never did say why I suddenly need to repot, as I have always understood, if I am correct that Aloe also have done well when space is a bit tight (?)
Well as I have said that this aloe has spawned 50 babies over the years; well that is VERY conservative, as now in this pot since CoVid, the others spawned have grown incredibly and the one who is currently suffering this mass space invastion is mom!! OH NO!!! thanks again. Carol