Christmas Cacti, which belongs to the genus Schlumbergera, is a popular choice among plant lovers because they are low-maintenance and promise beautiful blooms around the time of their namesake holiday.
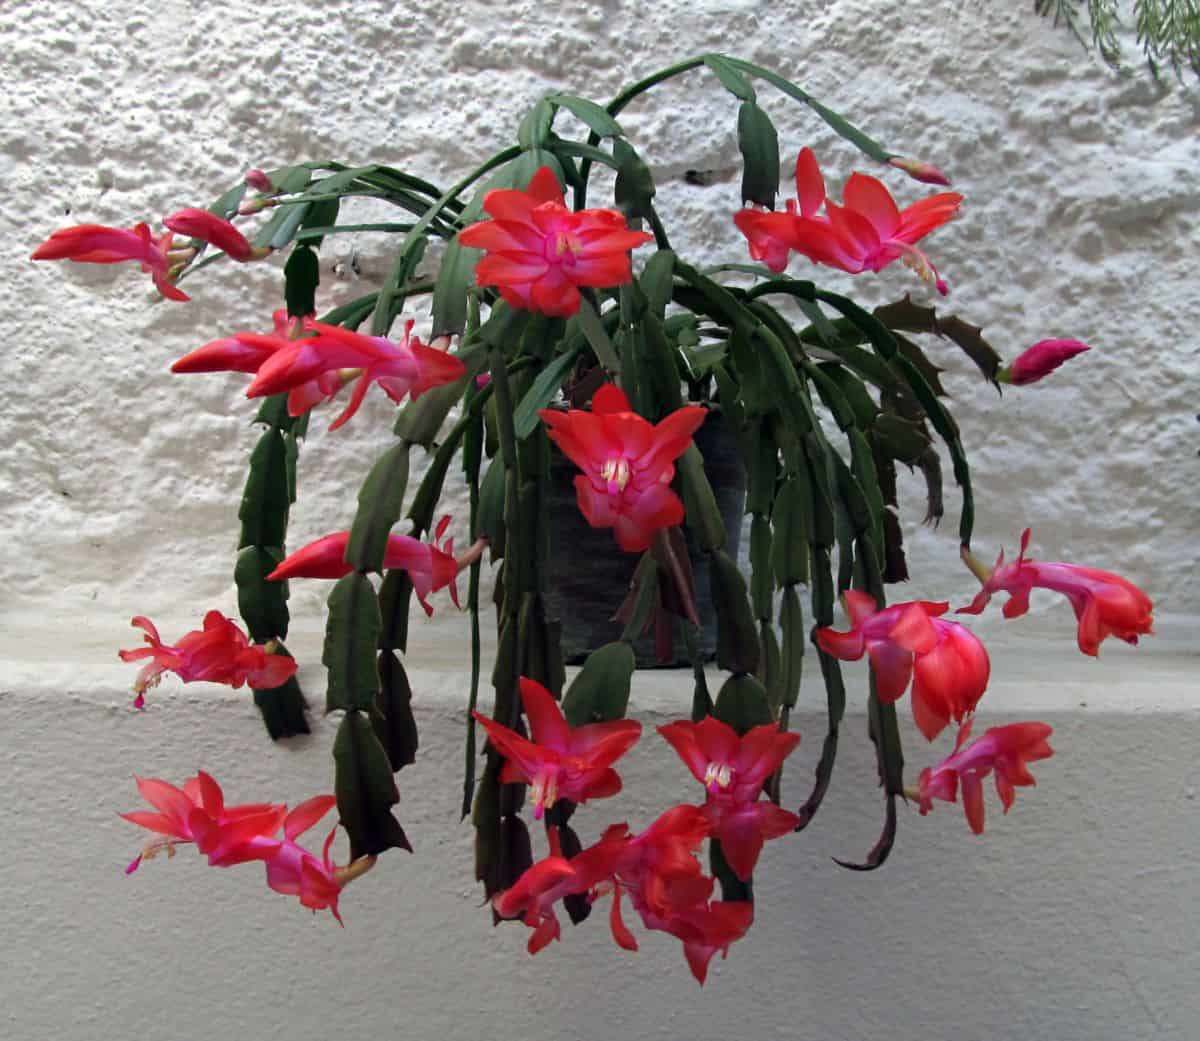
Unlike most of the cacti, you may be familiar with, the Christmas Cactus does not thrive in arid climates. They’re actually native to tropical climates, specifically the coastal mountains of southeast Brazil.
Christmas Cacti are also epiphytic cacti, which means they do not grow in the ground like most species of cacti. Instead, they thrive in the crevices of rocks and trees, growing in the debris that collects there.
This is easy to care for plant that’s great for beginners. They are also incredibly easy to propagate. If you’re looking for an inexpensive gift for a special someone, why not share your love for succulents with the gift of a Christmas Cactus? Of course, you can always keep your new plant for yourself, too!
Jump to:
Tools Required
- Christmas Cactus
- Soil
- New pot or container
- Sharp scissors or trimmers
- Rooting hormone (optional)
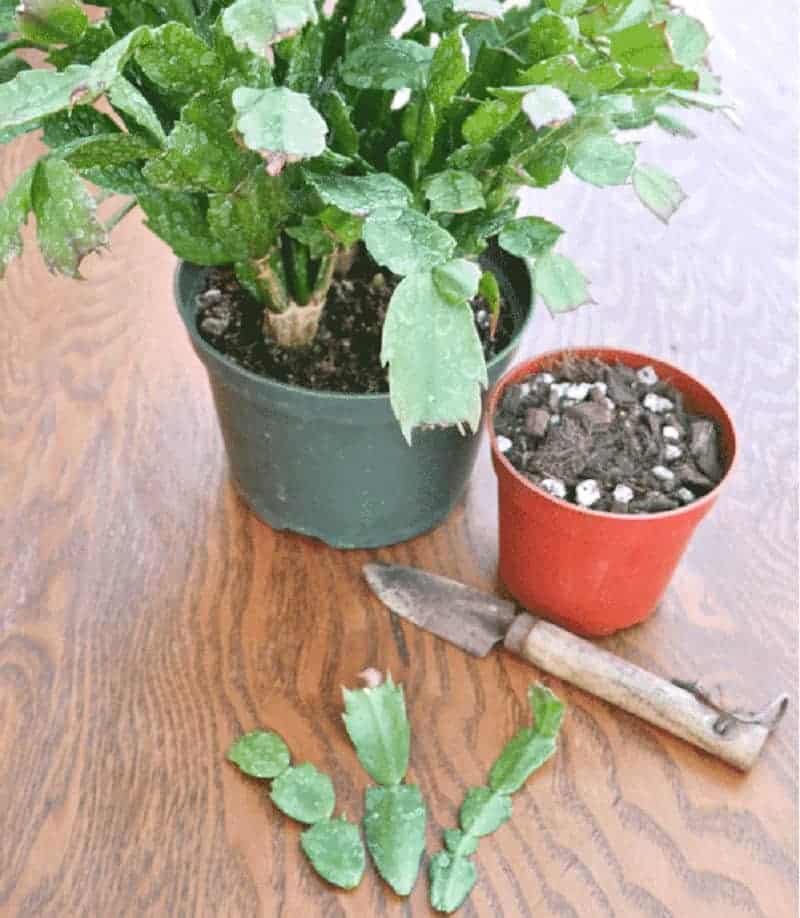
Beyond the obvious need for a Christmas Cactus, you’ll also need a few tools to ensure your propagation is a success. First, you’ll need soil appropriate for this epiphytic plant. The soil needs to be well-draining. Christmas Cactus will not thrive in overly moist soil, so proper drainage is a must. Somewhat acidic soil is preferred.
Since propagation involves creating an open wound in your plant, you may want to consider planting your cuttings in sterilized soil. By sterilizing your soil prior to planting, you reduce the risk of infection and increase the likelihood of successful propagation. Don’t worry, it’s easy to sterilize soil at home and there are several different methods you can use, depending on your preferences.
Be sure that the pot you choose also allows for appropriate drainage. This is not the time for that adorable new pot that doesn’t have a drainage hole. Christmas Cactus will grow best in a relatively shallow pot. Remember, in the wild, they grow in rocks and trees, so they don’t need much space.
Since Christmas Cactus are known for their trailing stems, you might consider planting your cutting in a hanging container. Hanging planters are a great way to utilize vertical space and add more dimension to your garden or succulent collection.
To take cuttings, you’ll need a clean, sharp pair of scissors or gardening shears. The sharper your shears are, the better. You want a nice, clean-cut to help reduce the risk of infection from bacteria or fungus. You may also want to consider sterilizing your shears before you cut.
Although the rooting hormone is not required, it can help your cutting develop roots much faster. Rooting hormone is a powder that is easy to use and typically quite inexpensive. You can find it at your local nursery or garden center or your favorite online retailer.
How to Take a Cutting

Before you grab those shears, you’ll need to decide where to take your cutting and how many segments you want to take. If your existing Christmas Cactus is quite small, it may make more sense to take a smaller section of the plant. On the other hand, if your Christmas Cactus is growing out of control, you might consider taking several larger cuttings.
No products found.
The best place to cut your Christmas Cactus is between the leafy segments. You can take a single segment to propagate, or you can take a long strand. Just be sure you cut between them, NOT through the middle of a leaf.
Once you’ve chosen your cuttings, take your shears and snip your cutting off the mother plant. If your shears are sharp, as they should be, the cut will be clean and crisp, with no tearing at the edges.
So, you’ve collected your cuttings and are ready to plant, right? Not quite. Your shears have introduced an open wound to your plant, making it vulnerable to infection. To ensure your cuttings’ health, you’ll want to let them dry and callous over before planting. This drying process usually takes several days.
Planting Your Cutting
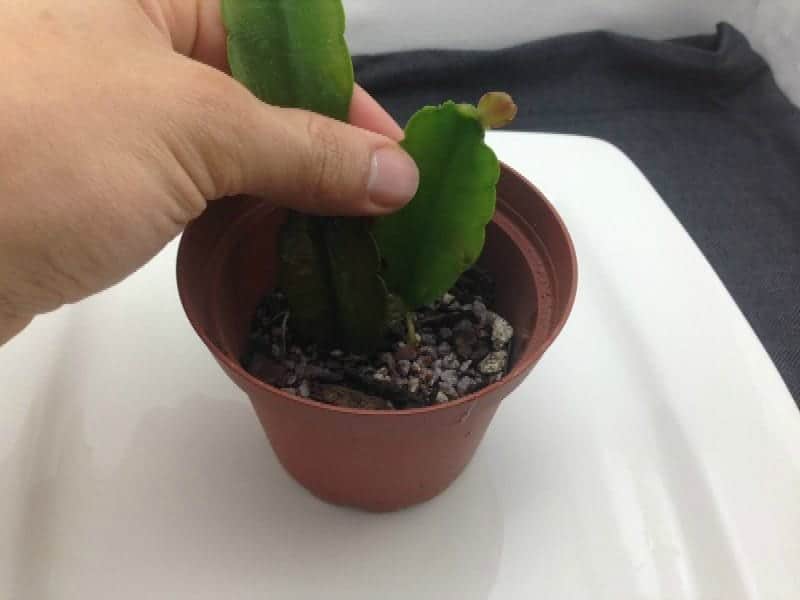
Now that you’re ready to plant, you’ll want to add your soil to your cutting’s new container. You’ll want to fill the container, or nearly fill it, depending on the size of your cutting. If you’ve just taken a segment or two, you won’t even need to plant the cutting, you can simply set it on top of the soil. Longer cuttings in smaller pots may be planted a bit deeper to anchor it to the pot.
If you’re wondering how to get your Christmas Cactus cutting to grow roots now, you’ll be happy to learn that you can now do absolutely nothing. You’ve prepared the pot with well-draining soil and now you just wait for your cutting to sprout roots.
If you’ve chosen to use the rooting hormone, now is the time to use it. You can moisten and dip the end of your cutting, but make sure it’s the side of the cutting that was closest to the roots and not the other end of the stem. After you’ve applied the rooting hormone, you’ll simply lay the cutting on the surface of the soil and wait.
As strange as it may seem, you don’t need to water your cutting right now. Remember, it doesn’t have any roots to absorb that water anyway. It is recommended to keep your soil moist when using the rooting hormone, however. Once you notice roots growing, you can begin watering your cuttings as you normally would.
Growing Christmas Cactus from Seed
If you’re looking for more of a propagation challenge, you can also try propagating a Christmas Cactus from seed. You can either purchase seeds or produce them yourself, though the latter route can be a bit more difficult.
Growing succulents from seeds will definitely take more time than growing them from cuttings, so if you go this route you must prepare to be patient. If you’re interested in collecting seeds from your existing Christmas Cacti, rather than purchasing them, read our guide on collecting seeds here.
Caring for Your Christmas Cactus
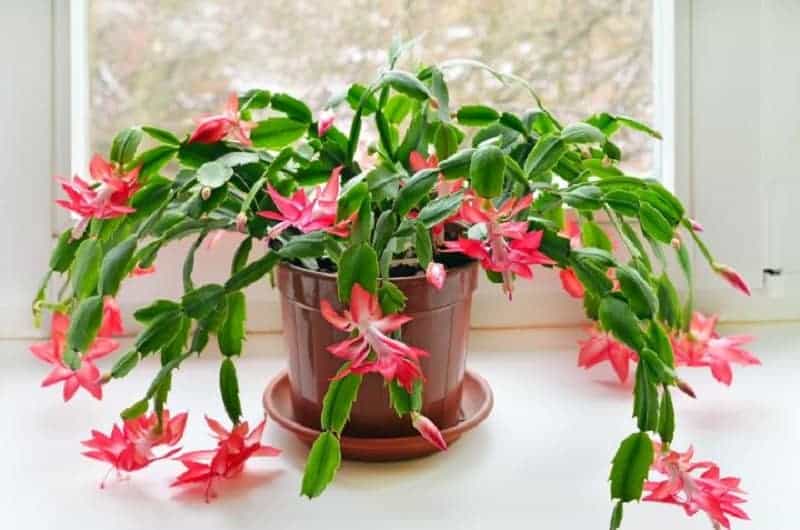
Once your Christmas Cactus cuttings have grown roots, you can begin caring for them the same way you’d care for a mature plant. Remember, this epiphytic succulent is native to tropical regions of South America, so it will need different care from your other species of cacti.
Like most succulents, the Christmas Cactus is drought tolerant, but it doesn’t respond well to either overwatering or underwatering. You’ll likely find yourself watering your Schlumbergera more frequently than other types of cacti, but overwatering should be avoided at all costs.
Christmas Cacti prefer bright, indirect light. Avoid exposing your plant to direct sunlight. These succulents grow in trees and rocks, so they’re accustomed to light that has been filtered through the canopy of trees.
Schlumbergera is not tolerant of extreme heat or cold and will thrive in environments of around 60 to 70 degrees Fahrenheit, but nighttime temperatures around 50 to 55 degrees Fahrenheit are fine. These plants are not frost tolerant and must be protected from frost and snow.
Although this plant is quite forgiving when mistreated, it won’t thrive without specific care. If you want your Christmas Cactus to bloom, you’ll need to be mindful of the amount of sunlight and water your plant receives, as well as the temperatures it’s exposed to.
How to Make a Christmas Cactus Bloom

One of the best features of Schlumbergera is the vibrant blooms produced in the plant. Depending on the cultivar, blooms may be white, yellow, pink, or red.
While many Christmas Cactus owners, green thumb or not, have had success in keeping their plants alive, getting them to bloom is often a different story. Christmas Cacti are notorious for needing very specific care in order for them to produce flowers.
As their name suggests, Christmas Cacti typically bloom during the holiday season. Once in flower, you’ll be able to enjoy the beautiful blooms for four to six weeks in total.
To encourage blooming, you’ll first need to allow your Christmas Cactus to enter a state of dormancy. Typically, you’ll begin to cut back on the amount of water you give your plant around October or November. Unlike other species that go dormant, you don’t want to stop watering completely.
Instead, give your Christmas Cactus less water, but a bit more frequently. You want the soil to remain slightly moist. This is crucial, as overwatering or underwatering can cause your plant to drop its buds if they’ve already developed.
Next, you’ll need to make sure your Schlumbergera is getting between 12 and 14 hours of darkness each day. The warmer the temperatures at night, the more darkness is needed for the development of flower buds. During the day, the usual bright, indirect light is fine.
During this time, you’ll need to protect your Christmas Cactus from drafts. Drastic changes in temperature can shock the plant and cause the flower buds to drop off.
Once you begin caring for your Schlumbergera to encourage blooming, you’ll need to keep it up for about six to eight weeks before buds appear. Once the buds have formed, you’ll need to continue your treatment for up to 12 more weeks before the first flowers appear.
If you’ve done everything right, you’ll soon be enjoying a tropical treat during an otherwise frigid time of year. If you’re interested in propagating Christmas Cactus from seeds, this is a great opportunity to pollinate your plants. In nature, these plants are pollinated by birds and insects, but it’s easy to pollinate them by hand as well.
Most gardeners recommend cross-pollinating cultivars for the highest chances of success, though some varieties of Christmas Cactus are self-fertile. Crossing cultivars with different flower colors can result in interesting seedlings, so don’t be afraid to experiment.
How to Pollinate a Christmas Cactus
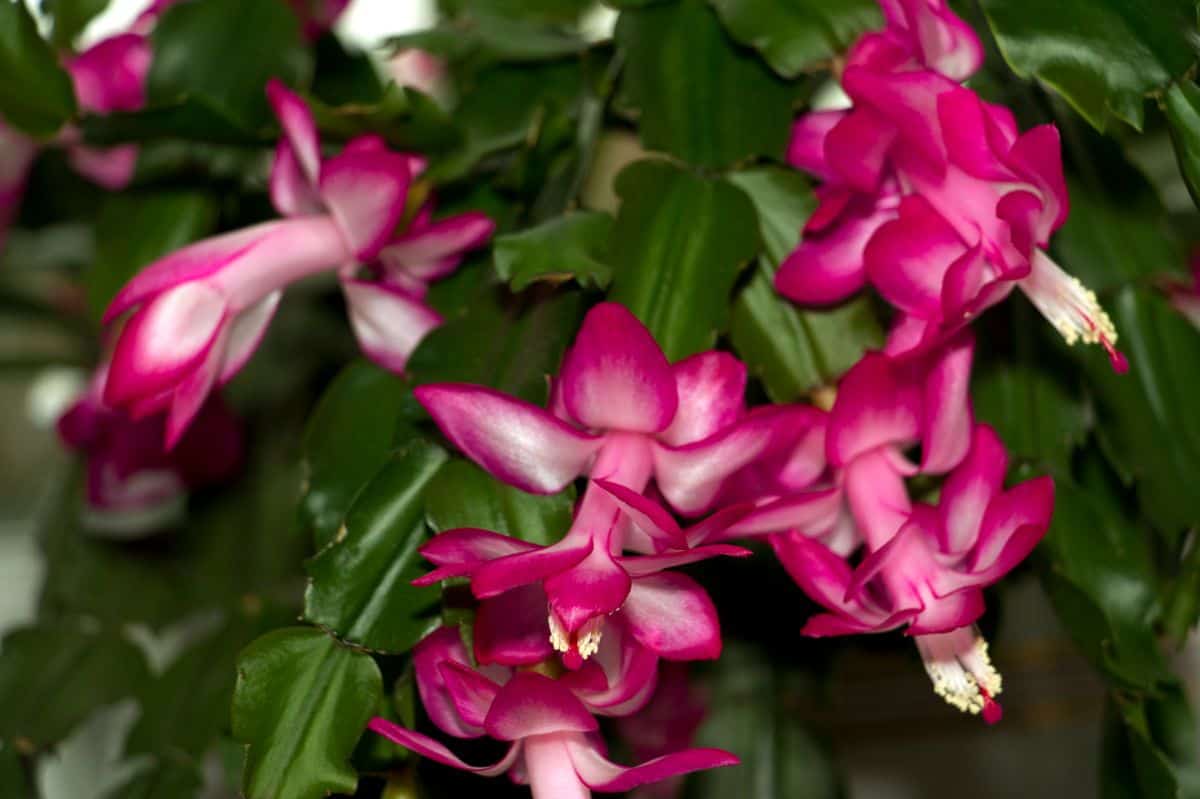
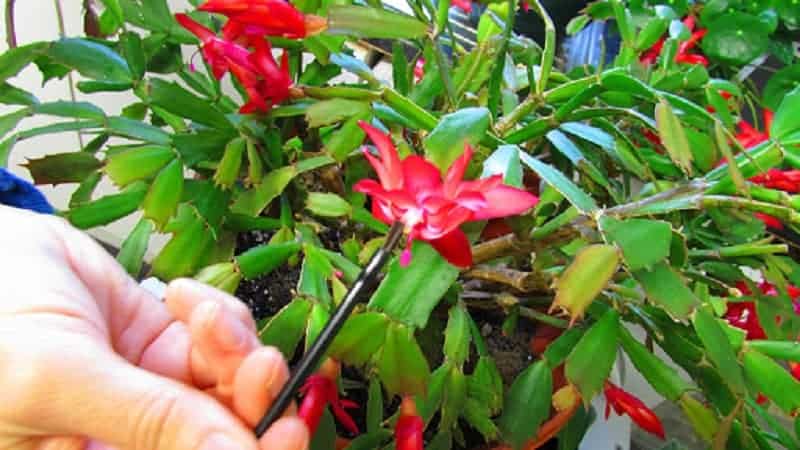
First, you’ll need to identify the reproductive organs on the flowers. These are called the stigma and the anther. The stigma can be located at the center of the flower, while the anther is the pollen-covered protrusion next to it.
To manually pollinate your cacti, you can either entirely remove the pollen-covered anther from the flower or use a paintbrush or cotton swab to collect the pollen. If you’re using the latter method, you’ll gently rub the brush or swab onto the anther to collect the pollen, similar to the way birds and insects would.
Once you’ve collected pollen or have removed the anther, you’ll gently apply the pollen to the stigma of the flowers on a different Christmas Cactus. If you have a variety of Schlumbergera cultivars, you can try pollinating different flowers with different plants, or you can simply cross-pollinate two individual plants.
If you’ve successfully pollinated your cacti, the bases of the flowers will begin to swell. This swelling is the development of the seed pods. At first, the pods will be quite firm to the touch, but they will eventually become dry and brittle.
Collecting Seeds from a Christmas Cactus
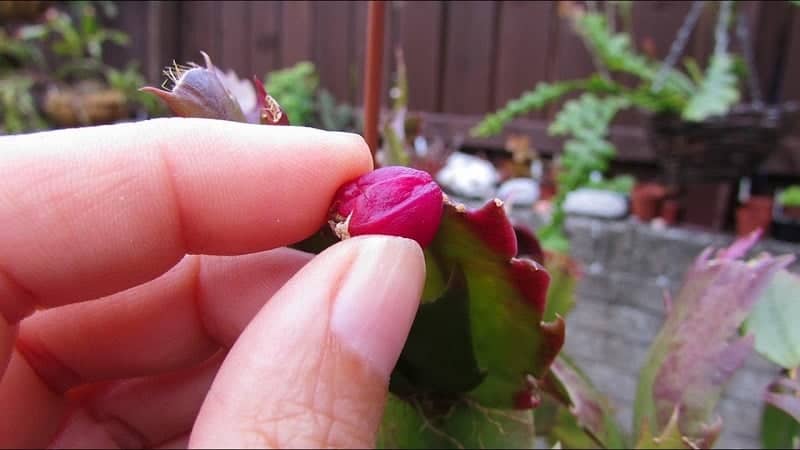
Once the seed pods begin to dry out and become fragile to the touch, you can collect the seeds from the pods. Just be careful you don’t break open the pod before you’re ready. The seeds are small and can easily be lost. Gentle handling is a must.
Unless you plan on planting your Christmas Cactus seeds right away, you’ll want to allow them to dry before storage. You can either break the seed pods open over a blank piece of paper or use a paper bag. The plain colored paper will help with distinguishing the seeds from the fragments of the pod.
Christmas Cactus seeds can then be stored in a cool, dry place for planting at a later time. Many gardeners choose to store their succulent seeds in small bottles or paper envelopes. It can be helpful to repurpose a small packet of silica gel from a bottle of vitamins or other similar products. This will help prevent the buildup of moisture in the container.
Once you’re ready to plant, be prepared for some interesting results. Even if you’ve bred similar-looking Christmas Cacti, the offspring can sometimes surprise you. If you’re looking for a more predictable method of propagation, you might just want to stick with cuttings!
You Might Also Like:


Moira
Hello - great post! I'm wondering if you can help me with a question I've been unable to find the answer to so far...A couple of months ago I planted 3 segments of a Christmas cactus into soil (the segments only had one leaf each on them). They have now rooted quite well and the roots are about 1-2 inches long. When should I transplant them to a bigger pot, and when I transplant them do I group them together again or is it 1 segment per pot? Also even though the segments have rooted they have not started producing additional leaves..is this normal? Many thanks!