Repotting your beloved plant can be daunting if you’ve never done it before, but don’t worry! It’s easy to do and totally harmless!
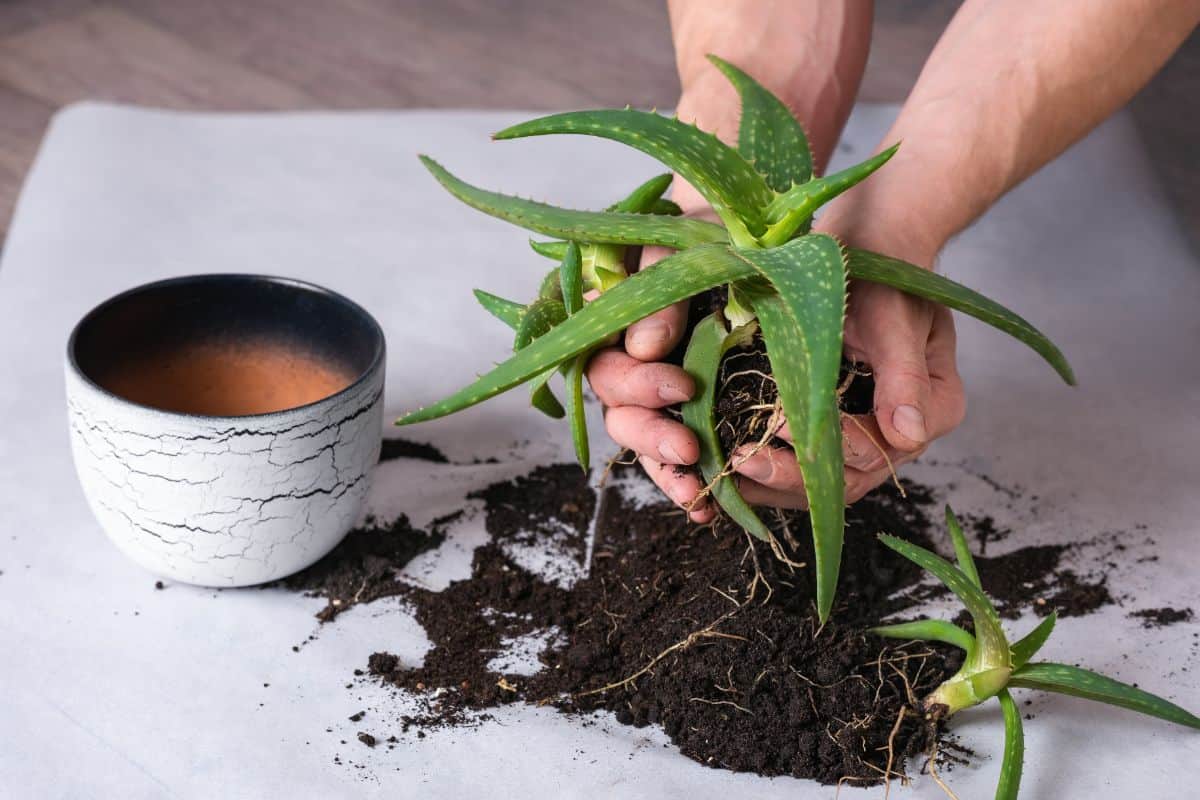
Learn how to repot succulents in this guide below:
Jump to:
- Why should I be repotting succulents?
- 1. You just bought a new succulent.
- 2. It has grown too big for the container.
- 3. You need to change the soil.
- When should I repot?
- How to repot succulents
- 1. Gather your materials
- 2. Extract the plant from the old pot
- 3. Tidy up your plant.
- 4. Fill about ⅓ of the pot with soil.
- 5. Fill the remainder with soil.
Why should I be repotting succulents?
1. You just bought a new succulent.
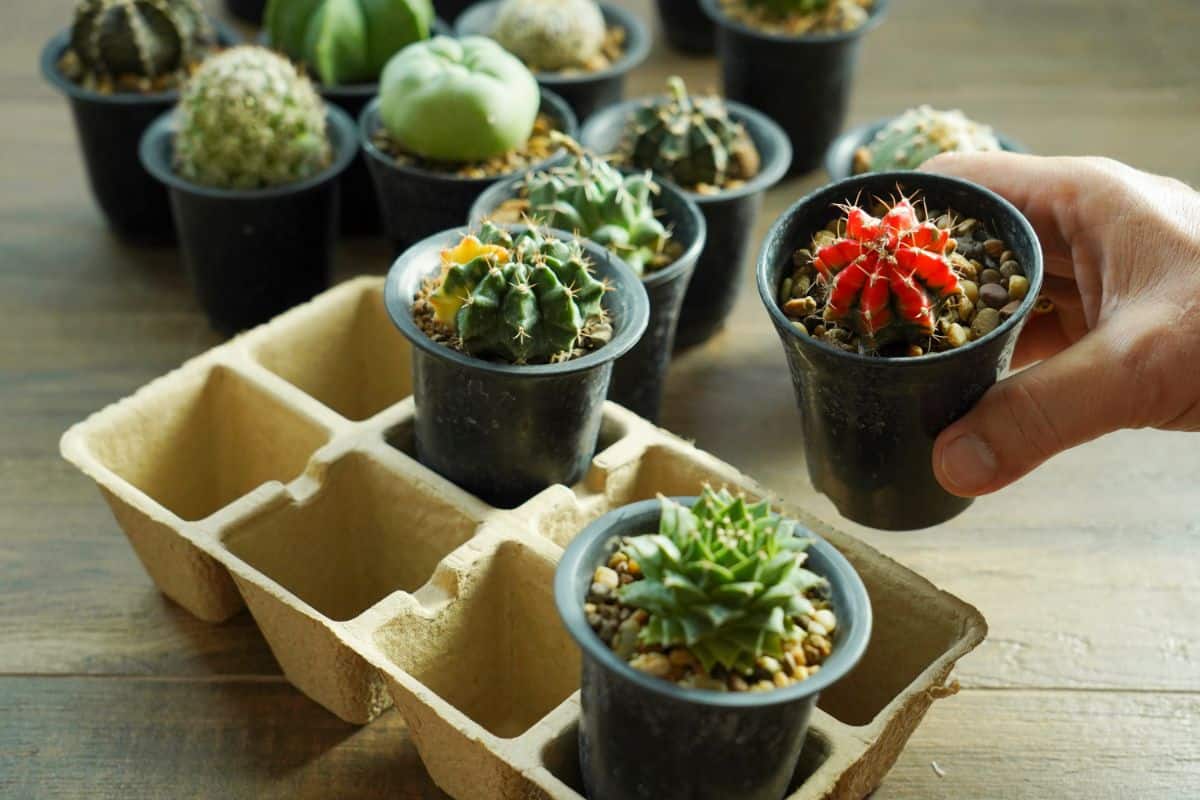
Repotting in this scenario serves two purposes. The first is that plants often come in flimsy plastic containers. These containers are good for little more than transportation.
They can impede the growth of your plant if it left in there too long! They also manage water more poorly than a terracotta pot.
Additionally, repotting gives you the chance to inspect your succulent. New plants can sometimes carry parasites (especially those from big box stores), that’s why we always quarantine new plants for two weeks.
When you repot a succulent after bringing it home you can check its roots and stem for parasites you might have missed otherwise.
2. It has grown too big for the container.
Congratulations! That’s a good problem to have! There are a couple of ways to know if your plant is too big: if it is so top-heavy it tips over or if you begin to see roots growing either on the surface or out of the drainage hole.
Seeing roots is usually indicative of a root ball (sometimes called a root wad). While not inherently harmful, the presence of a root ball usually means plant growth will be very slow or stop entirely. Nutrients in the soil nearby are also often depleted.
3. You need to change the soil.
Repotting doesn’t always mean that you’re switching to a new pot. Sometimes you just have to change the soil. This is usually the first thing you should do after buying a new plant.
While nursery plants should come with an appropriate blend, big box stores rarely have the correct kind of soil. Often times they are also watered daily (bad!), so getting your succulent out of that wet dirt should be a priority.
Look here for information about succulent soils, and how to make your own!
When should I repot?
In the absence of any of the reasons listed above, it’s usually good practice to repot a succulent about every two years.
No products found.
This acts as a preventative measure for some of the ailments we discussed like stagnating growth or lack of nutrients. It also deters the formation of root balls.
Replacing the soil is not only useful for restoring nutrients (you can use fertilizer, check here to learn more). New soil is also more aerated.
Dirt tends to compact with repeated waterings, and roots move through it. Fresh, light and loose soil are important because it lets air get to the roots, and air intake is one of their primary functions.
Additionally, try to repot your succulents about the same time you should water them. Ideally, you will water your succulents immediately after repotting since the water promotes more rapid growth, helping to stabilize them in their new home.
How to repot succulents
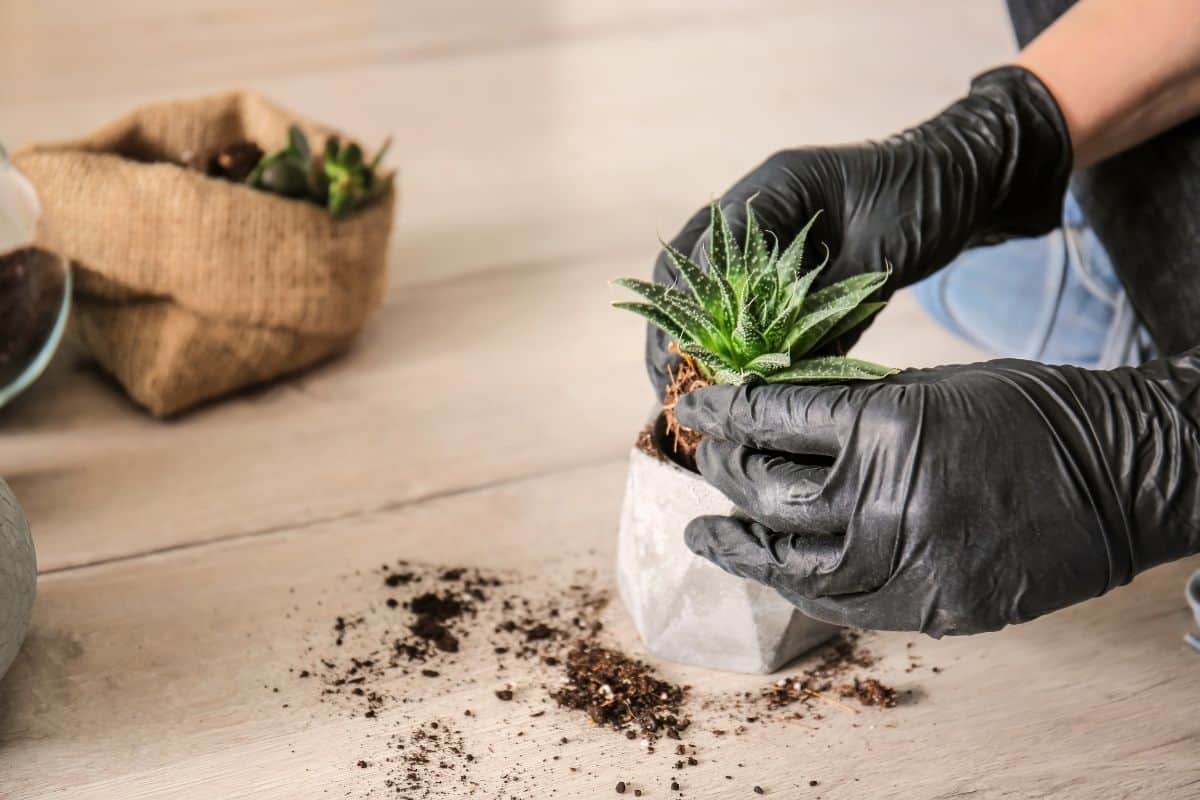
Repotting, fortunately, is a fairly simple process. It can be complicated somewhat by the nature of succulent propagation, but it’s nothing we can’t handle!
1. Gather your materials
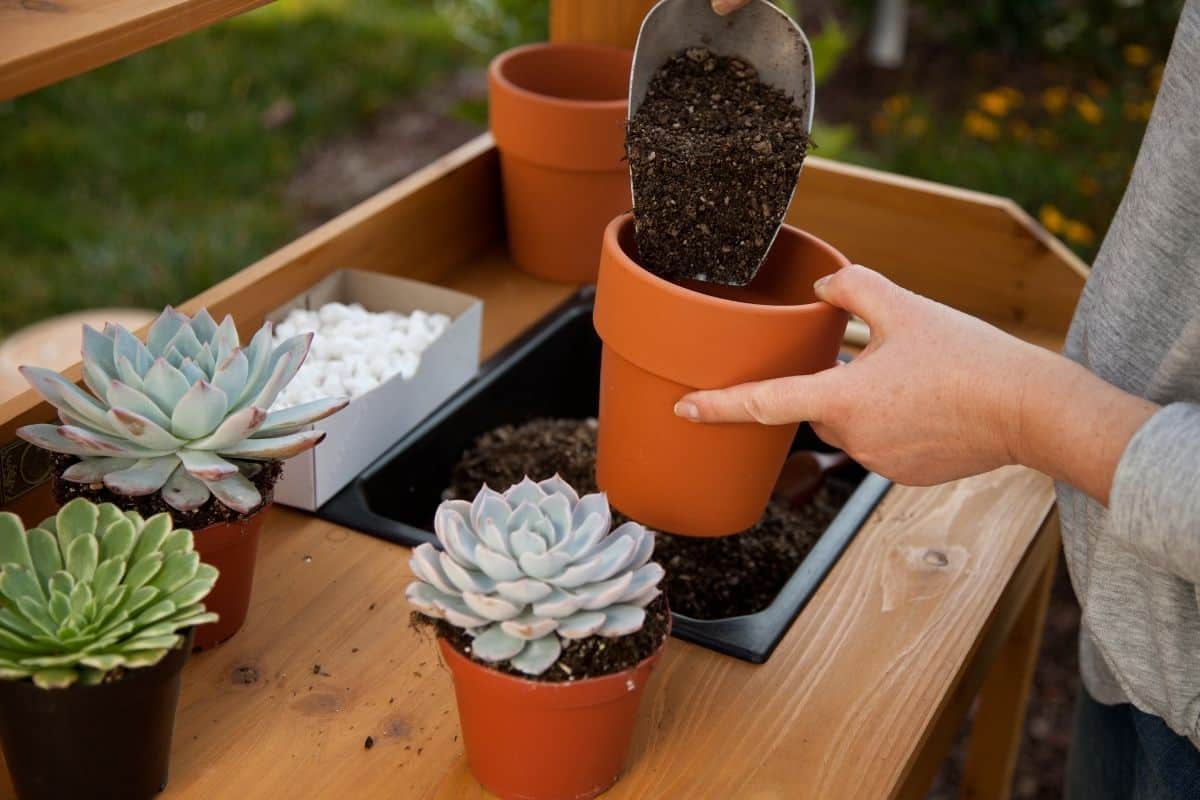
You will need at minimum a pot (a new one if your succulent is getting too big) and replacement soil (or look here to make your own!). Don’t reuse old soil!
It isn’t always necessary, but garden scissors can be helpful in separating plants. You might also find a trowel useful for moving dirt and setting plants. Optional gravel or other ornaments for the surface!
2. Extract the plant from the old pot
This is the only tricky part really. Grasp the plant firmly at the base of its stem if possible and tug gently.
If you can’t do that, try turning the pot over and shaking with a hand underneath to catch your plant. If the plant is still resisting, you can use a knife around the edges of the pot to unstick the old dirt.
3. Tidy up your plant.
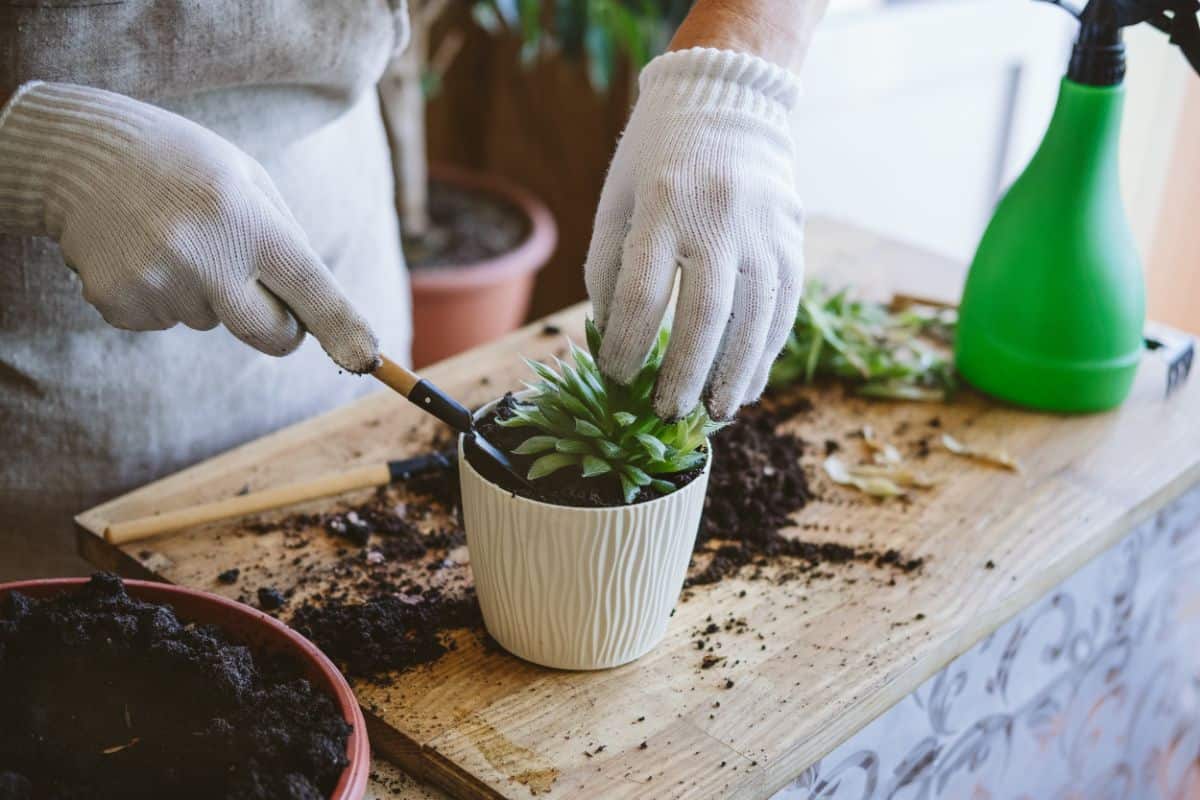
You want to remove all the old dirt from the plant. You will be able to easily knock off large chunks of soil. For the more persistent soil, knead it gently between your fingers to loosen it.
For any larger debris like rocks or bark entangled by the roots, try to manually pull it apart. The goal is to keep as much of the root network intact as possible, but losing a few roots isn’t lethal.
If you’re having trouble, or you’re concerned about potential parasites, you can dunk the succulent in a bucket of water and swish it around.
This will get the last of that dirt off. It isn’t harmful to have your succulents inundated temporarily, but you shouldn’t let them soak!
If your succulent is one of those that grows babies sporadically, like Mexican Hens and Chicks, you might find a whole mess of roots. The water approach detailed above helps you make sense of it.
It is also really effective in resolving root balls. Succulents with pups or runners will often still be connected via roots. Cut them as cleanly as possible with garden scissors, favoring the offspring if necessary. Momma will be okay!
4. Fill about ⅓ of the pot with soil.
Or really just the distance from your plant to the end of its roots, if you imagine it sitting at the surface. It’s important to bury the roots well, both for support and maximum intake. Don’t make the mistake of layering the bottom of the pot with gravel, it is harmful!
5. Fill the remainder with soil.
Prop up the plant or hold it while adding the soil. The surface should be 1-½ inch below the top of the pot. Don’t compact the soil to fit more in – we want aeration in the soil! If you have multiple plants this part can be tricky.
Patience will see you through, but if you are lacking (like me) try this: Put a chopstick in the pot while the soil is only ⅓ full. Tie the succulent to it at the approximate height it should eventually be.
Hold the tops of the chopsticks while filling in the remainder, and simply untie the succulent at the end!
Is there anything we missed? Do you have more tips of how to repot succulents? Tell us in the comments!


Norma
In step 3, you mention removing all dirt from the old plant. How far do you go with that? The very top photo shows bare roots. Don't I want to keep the root ball for most succulents? Please pardon my newbieness! I have a new flapjack that seems to be a bit compacted so I do not want to destroy the ballecause the plant is not small. Thanks for your help.
Carmine
Hey Norma, good question! Generally you want to remove as much dirt as possible. If you’re afraid of damaging it, then you can leave the root ball intact, but gentle and patient kneading should be able to get off all the dirt safely. Dunk it in water to help loosen up the soil!
CjWestcoast
Thank You for all your help and I really enjoy reading your articles about one of my favorite subjects, succulents. There is just so many variations and colors to keep a person interested.
Thanks again. CjWestcoast
Patrick Grubbs
There is indeed! Thanks for stopping by!
Cheers!
Hannah L.
Just discovered your amazingly awesome site, and wow! You have so many amazingly helpful articles!! Thank yo yo much for sharing your plant and succulent knowledge!! ?
I’m rather new to caring for succulents, and my collection is slowly growing already lol. Got my first few like three months ago in April, so I’m still learning a lot lol.
I have this little 6” arrangement that I picked up that has a Morning Beauty succulent, two stalks of Aurora Borealis, and a small Arazona snowball. I’ve seen that they’ve grown quite a bit since I first got them, and I know they need to be repotted, bu I’ve been so afraid to. Any tips on removing the delicate stems of the Aurora Borealis plants? Just so nervous about hurting these, and I’m still rather new at this ^^;
Thanks again for sharing all of your wonderful articles! Can’t wait to read more of them!! ?
Patrick Grubbs
I'm glad you are enjoying them 🙂
You're in luck - the aurora borealis succulent is a Kalanchoe. That genus is notorious for being impossible to kill. If you knock off a leaf, babies will form at the interstices of the lobes. If you break off a stem, it will grow roots. You can't go wrong!
Glad your plants are growing so quickly! Keep up the good work!